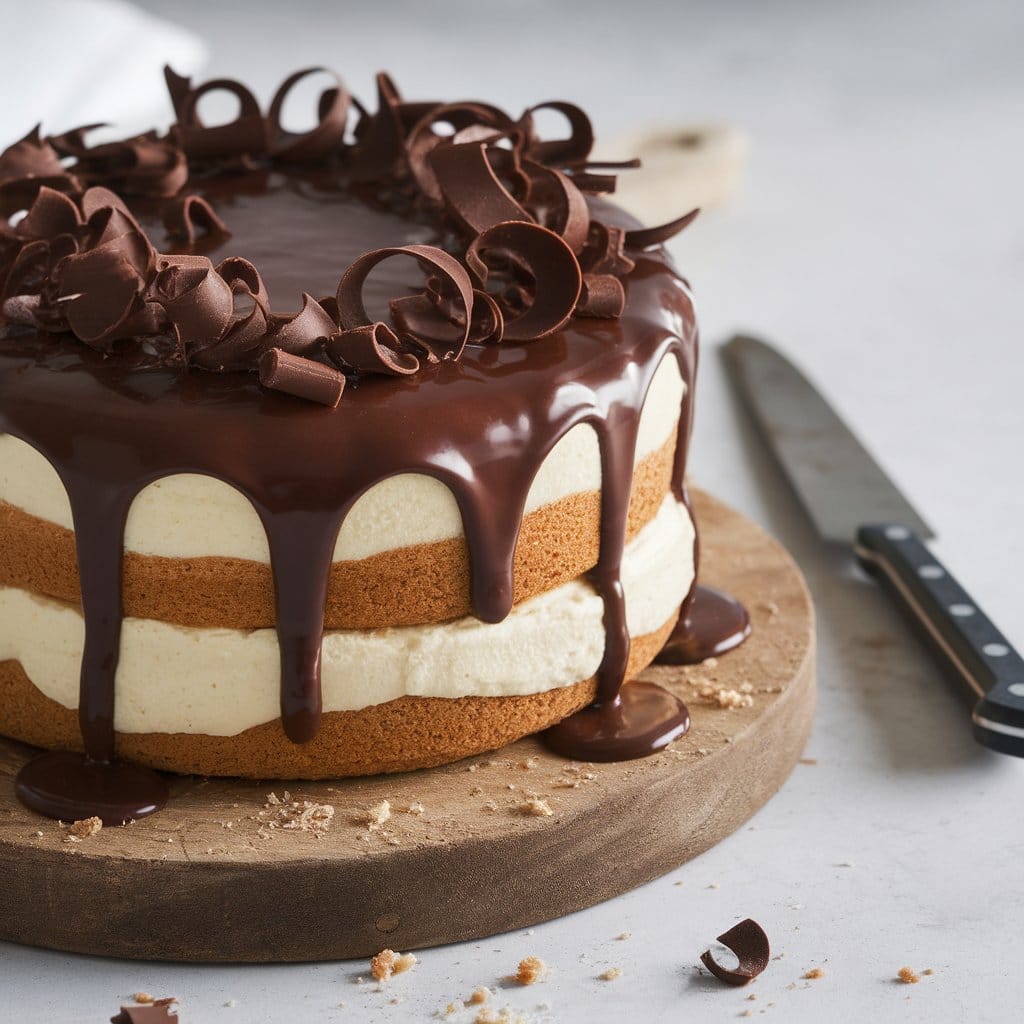
Craving a dessert that’s both irresistibly delicious and easy to whip up? Look no further than this Boston cream cake recipe! First, let’s talk about why this dessert is a crowd-pleaser. With its light, fluffy layers, velvety custard filling, and rich chocolate topping, it’s a classic that never goes out of style. The best part? You don’t need to be a baking pro to make it! This recipe is beginner-friendly, quick to prepare, and uses simple ingredients you probably already have in your kitchen.
Next, think about the versatility—it’s perfect for birthdays, family dinners, or even a fun weekend baking project. In addition, making it at home allows you to customize it and skip the unnecessary preservatives found in store-bought cakes. So, why wait? Grab your mixing bowl, preheat the oven, and let’s create a dessert that’s sure to impress. Keep reading for step-by-step instructions!
Ingredients for the Perfect Boston Cream Cake
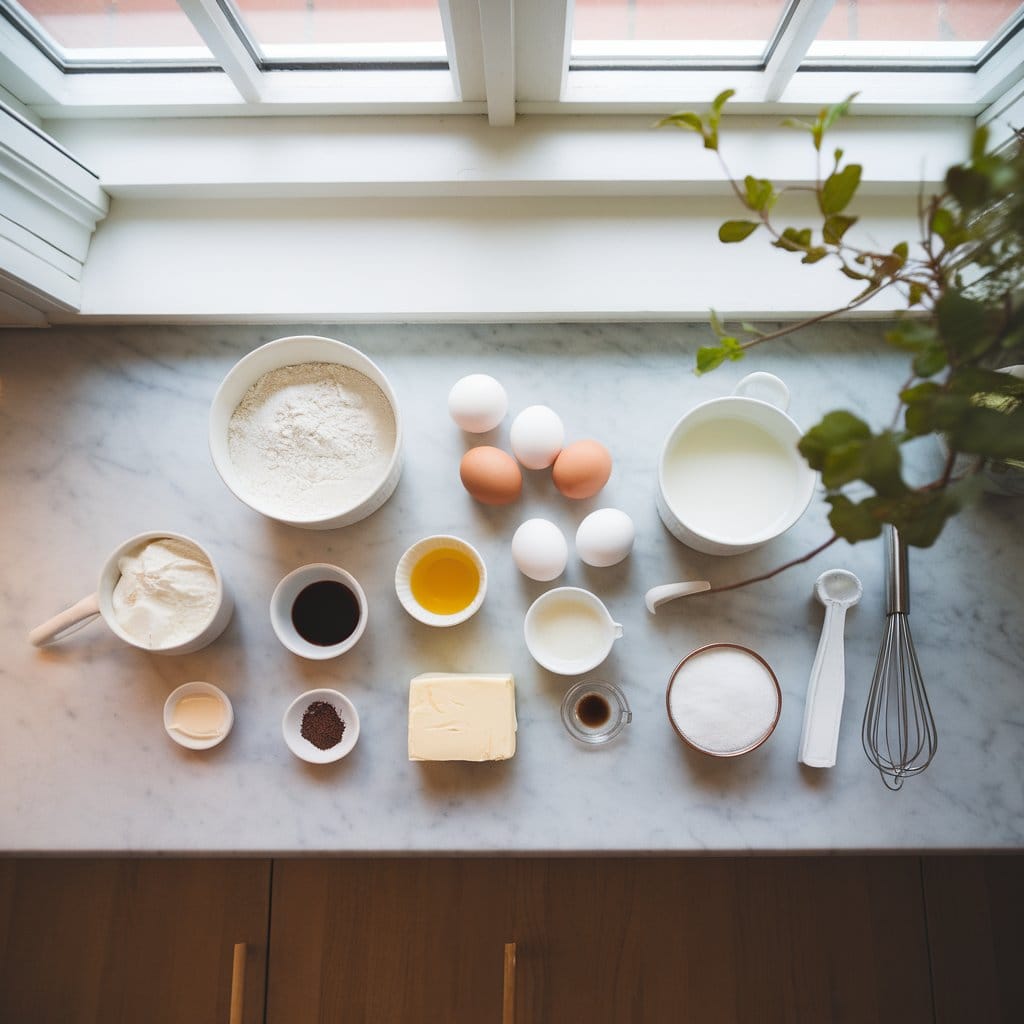
Essential Ingredients for a Fluffy Sponge Base

To create the perfect base for your Boston cream cake recipe, you’ll need simple but essential ingredients. First, gather all-purpose flour, sugar, baking powder, and a pinch of salt to ensure the cake rises beautifully. Then, add eggs, milk, and vanilla extract for that soft and light texture. Butter or oil will help keep the cake moist and delicious. You’ll love how these ingredients come together to create a fluffy foundation for the layers.
In addition, using fresh and high-quality products makes a big difference in the taste. For instance, try farm-fresh eggs for extra richness. It’s like giving your cake an upgrade without much extra effort. Also, preheating your oven ensures an even bake every time. Finally, keep your tools handy and your enthusiasm high—it’s time to start baking! Trust me, this part is just as fun as the eating.
Creamy Filling and Glossy Chocolate Topping
The heart of a Boston cream cake recipe lies in its creamy filling and luscious chocolate topping. To make the filling, you’ll need milk, sugar, egg yolks, cornstarch, and butter. Together, they create a smooth, custard-like cream that’s irresistible. First, whisk these ingredients over medium heat until they thicken. Then, chill the filling so it sets perfectly between the cake layers.
Next comes the chocolate topping. A mix of chocolate chips, heavy cream, and a little butter makes a shiny glaze. Melt the ingredients together, stirring gently, and you’ll have a rich finish for your cake. Also, you can sprinkle a pinch of sea salt on the chocolate for a gourmet touch. It’s the kind of detail that wows guests but takes little effort. So, grab your whisk and start making these delicious layers—it’s going to be worth every step!
Step-by-Step Guide to Making Boston Cream Cake
Preparing the Light and Airy Cake Layers
The first step in your Boston cream cake recipe is preparing the cake layers. Begin by preheating your oven to ensure an even bake. Then, mix your dry ingredients—flour, sugar, baking powder, and a pinch of salt—in a bowl. Next, whisk together eggs, milk, melted butter, and vanilla extract in a separate bowl. Combine the wet and dry ingredients gently, avoiding overmixing to keep the batter light and airy.
Once your batter is ready, pour it evenly into greased cake pans. Bake the layers until golden and firm to the touch. Check with a toothpick; if it comes out clean, your cake is done. Let the layers cool completely before moving to the next step. Also, consider using parchment paper for easy removal. This part sets the stage for the creamy and chocolaty goodness to come. You’re already halfway there!
Assembling the Cream and Chocolate Layers

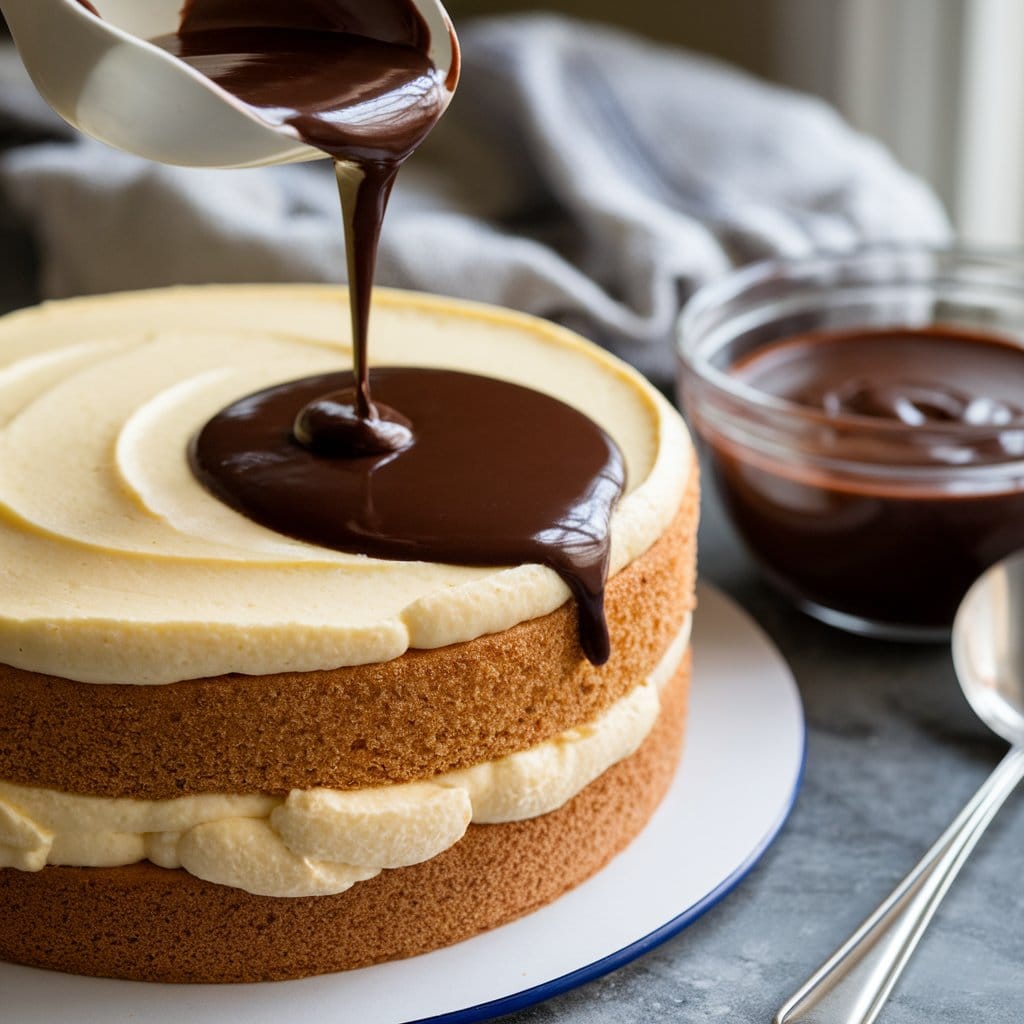
Assembling your Boston cream cake recipe is where the magic happens. First, place one cooled cake layer on a serving plate. Next, spread a generous layer of the chilled custard filling evenly over the top. Then, carefully add the second cake layer, making sure it aligns perfectly.
Now, it’s time for the chocolate glaze. Pour the melted chocolate mixture over the top of the cake, letting it drip down the sides naturally. This gives your cake a professional, polished look. In addition, you can use a spatula to smooth the glaze for a neater finish. Finally, refrigerate the cake for at least an hour to let all the flavors meld. When it’s ready, slice and enjoy this dreamy dessert—it’s as satisfying to make as it is to eat!
Tips for Enhancing Your Boston Cream Cake Recipe
Substitutions for Dietary Preferences
If you’re looking to adapt this Boston cream cake recipe for different dietary needs, don’t worry—it’s easier than you think! First, you can swap regular flour for almond or gluten-free flour. Just be sure to adjust the liquid ingredients slightly to maintain the right texture.
For a dairy-free version, substitute milk with almond or oat milk. Also, coconut cream works wonderfully in the custard filling. In addition, you can use vegan butter or coconut oil instead of regular butter. These swaps still give you a rich and creamy result.
If you want a lower-sugar option, try using a natural sweetener like honey or maple syrup. Then, for the chocolate glaze, use dark chocolate with a higher cocoa percentage for less sweetness. These changes keep the dessert delicious while meeting your preferences. Give it a try—you’ll love the results!
Tricks for a Smooth and Shiny Chocolate Glaze
A glossy chocolate glaze can take your Boston cream cake recipe to the next level. First, use high-quality chocolate with at least 60% cocoa for a rich flavor. Melt the chocolate slowly over low heat with heavy cream and butter. Stir constantly to avoid lumps.
Next, let the glaze cool slightly before pouring it over the cake. This helps it set smoothly. Also, use a spatula to spread it evenly, creating a professional look. In addition, refrigerating the cake after glazing ensures it hardens perfectly.
If you want a shinier finish, add a teaspoon of corn syrup to the glaze. It’s a small trick that makes a big difference. Finally, keep the glaze simple and avoid over-complicating it. It’s the final touch that makes your dessert truly unforgettable. Try it, and your cake will look as good as it tastes!
Boston Cream Cake Recipe Variations to Try
Mini Boston Cream Cupcakes for a Twist
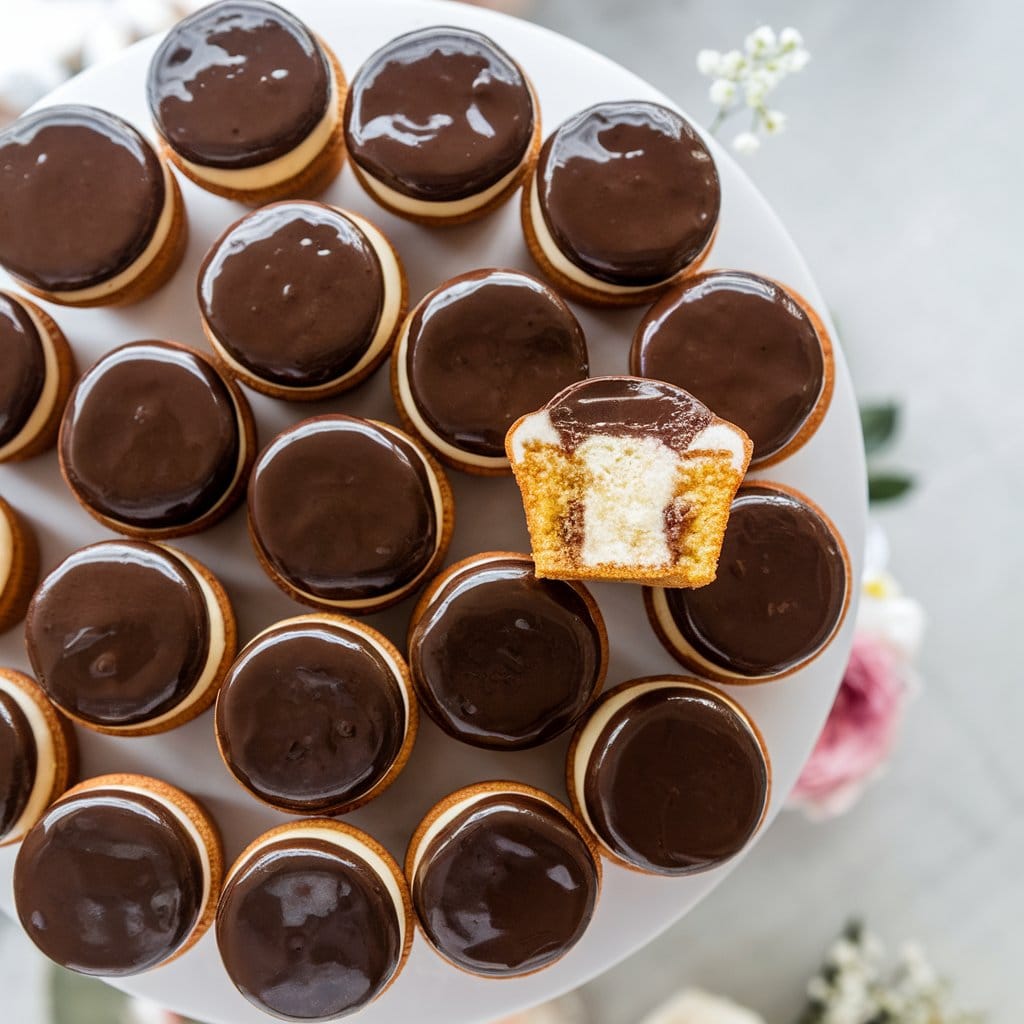
For a fun spin on the classic Boston cream cake recipe, try making mini cupcakes! These bite-sized treats are perfect for parties or just a snack. First, prepare the sponge batter as usual, but divide it into a cupcake tin. Bake until golden and let them cool.
Next, use a piping bag to fill the center of each cupcake with creamy custard. Then, top each one with a dollop of rich chocolate glaze. These mini versions are not only adorable but also easier to serve.
In addition, you can experiment with flavors by adding a drop of almond or orange extract to the batter. This adds a unique twist without extra effort. These cupcakes are a fun way to enjoy a classic dessert in a new form. Plus, who doesn’t love cupcakes? Give them a try for your next celebration!
Gluten-Free and Vegan Boston Cream Cake Options
Making a gluten-free and vegan version of the Boston cream cake recipe is simpler than it sounds. First, swap regular flour with a gluten-free blend. Add a pinch of xanthan gum for structure.
For the custard filling, use almond milk or coconut milk instead of dairy. In addition, cornstarch works well to thicken the custard without eggs. You can also replace butter with vegan butter or coconut oil for the glaze.
Next, choose dark chocolate that’s free of dairy for the topping. Melt it with coconut cream to achieve a silky texture. These swaps ensure the cake is still rich and indulgent. Also, this version caters to everyone at the table. Whether it’s for dietary needs or personal preference, this adaptation keeps the dessert delicious and inclusive. Try it—you won’t even miss the traditional ingredients!
Common Mistakes to Avoid When Baking Boston Cream Cake
Ensuring Even Cake Layers and Perfect Filling
To avoid uneven cake layers in your Boston cream cake recipe, start with well-greased pans. First, measure your batter to divide it evenly between pans. This simple step makes a big difference.
Next, let the cakes cool completely before adding the filling. Warm layers can cause the custard to melt and spill. Also, spread the filling evenly to prevent bulges. Refrigerating the cake before adding the glaze helps it stay firm and neat.
In addition, don’t rush the process. Baking is a step-by-step activity, and skipping steps can lead to mistakes. By following these tips, your cake will look and taste amazing. It’s a little extra effort, but totally worth it!
Preventing a Split Chocolate Ganache
A split ganache can ruin the finishing touch of your Boston cream cake recipe. First, use room-temperature ingredients for a smooth blend. Cold cream or butter can cause the mixture to separate.
Next, melt the chocolate gently over low heat or in a microwave, stirring frequently. Also, add the cream gradually while whisking to combine. If the ganache splits, don’t panic. You can fix it by whisking in a tablespoon of warm milk or cream.
In addition, avoid overheating the chocolate. It should be just warm enough to melt. Finally, let the ganache cool slightly before pouring it over the cake. This ensures it sets evenly and smoothly. With these tricks, you’ll achieve a flawless finish every time. Your cake will look bakery-perfect—and taste even better!
Frequently Asked Questions (FAQs)
Boston cream Pie

Boston cream pie is a classic dessert loved for its simple yet indulgent layers. Despite the name, it’s actually a cake! It features soft sponge cake filled with creamy custard and topped with glossy chocolate glaze. First, it’s baked as two layers of cake. Next, the layers are filled with custard for that creamy middle. Then, the rich chocolate topping is added to finish the dessert. Many people enjoy this treat for special occasions or everyday indulgence. This dessert inspired many variations, including the famous Boston cream cake recipe, which is a similar delight to try at home!
Old fashioned Boston cream cake recipe
An old-fashioned Boston cream cake recipe sticks to tradition with simple ingredients and rich flavors. First, the sponge cake is made from scratch using eggs, flour, sugar, and butter. Then, the custard filling is prepared with milk, egg yolks, and vanilla. The finishing touch is a chocolate glaze that’s smooth and shiny. This version stays true to the classic dessert’s roots, making it perfect for anyone who loves timeless recipes. Plus, it’s fun to prepare and impresses everyone with its traditional taste. If you love old-school baking, this recipe is a must-try!
Boston Cream cake recipe easy
Looking for an easy way to enjoy the flavors of a classic dessert? This Boston cream cake recipe easy version is perfect for busy bakers. First, use a boxed cake mix for the sponge base. Then, make instant vanilla pudding for the custard filling. Next, top it with a simple chocolate ganache made from melted chocolate and cream. This shortcut recipe saves time but still tastes amazing. Also, it’s a great way to get kids involved in the kitchen. It’s quick, fun, and delicious—perfect for anyone craving a fuss-free dessert!
Boston cream donut Cake recipe
A Boston cream donut cake recipe is a fun twist on the classic dessert. This version transforms the flavors of Boston cream donuts into a full-sized cake! First, bake a moist vanilla cake as the base. Next, fill it with custard, just like the donut’s creamy center. Then, add a chocolate glaze to complete the donut-inspired look. This recipe combines the best parts of donuts and cake in one delicious treat. It’s perfect for parties or anytime you want something unique. Plus, it’s just as fun to make as it is to eat!
Wrap Up Your Baking Adventure with a Perfect Boston Cream Cake!
Congratulations, you’ve mastered the art of making a delicious Boston cream cake recipe! First, let’s celebrate your effort in creating this classic dessert. From the fluffy cake layers to the creamy filling and shiny chocolate glaze, every bite is a reward. Also, think about how much fun it was to mix, bake, and assemble this masterpiece.
In addition, this recipe is perfect for any occasion, from family gatherings to special celebrations. You can even customize it to suit your style. Don’t forget, practice makes perfect. So, the more you bake, the easier and more enjoyable it becomes.
Finally, share your creation with friends and family. Watch their faces light up with delight. Baking isn’t just about the cake; it’s about the memories you make along the way. Now, go ahead and treat yourself to a slice—you’ve earned it! Happy baking!
